I really will eventually get around to doing a knot tutorial. Promise. But in the mean time here’s something else. Here’s how a knot goes from being a doodle in the margins of a paper at my desk I drew while waiting for large files to save to looking half decent.
See, pretty easy, eh?
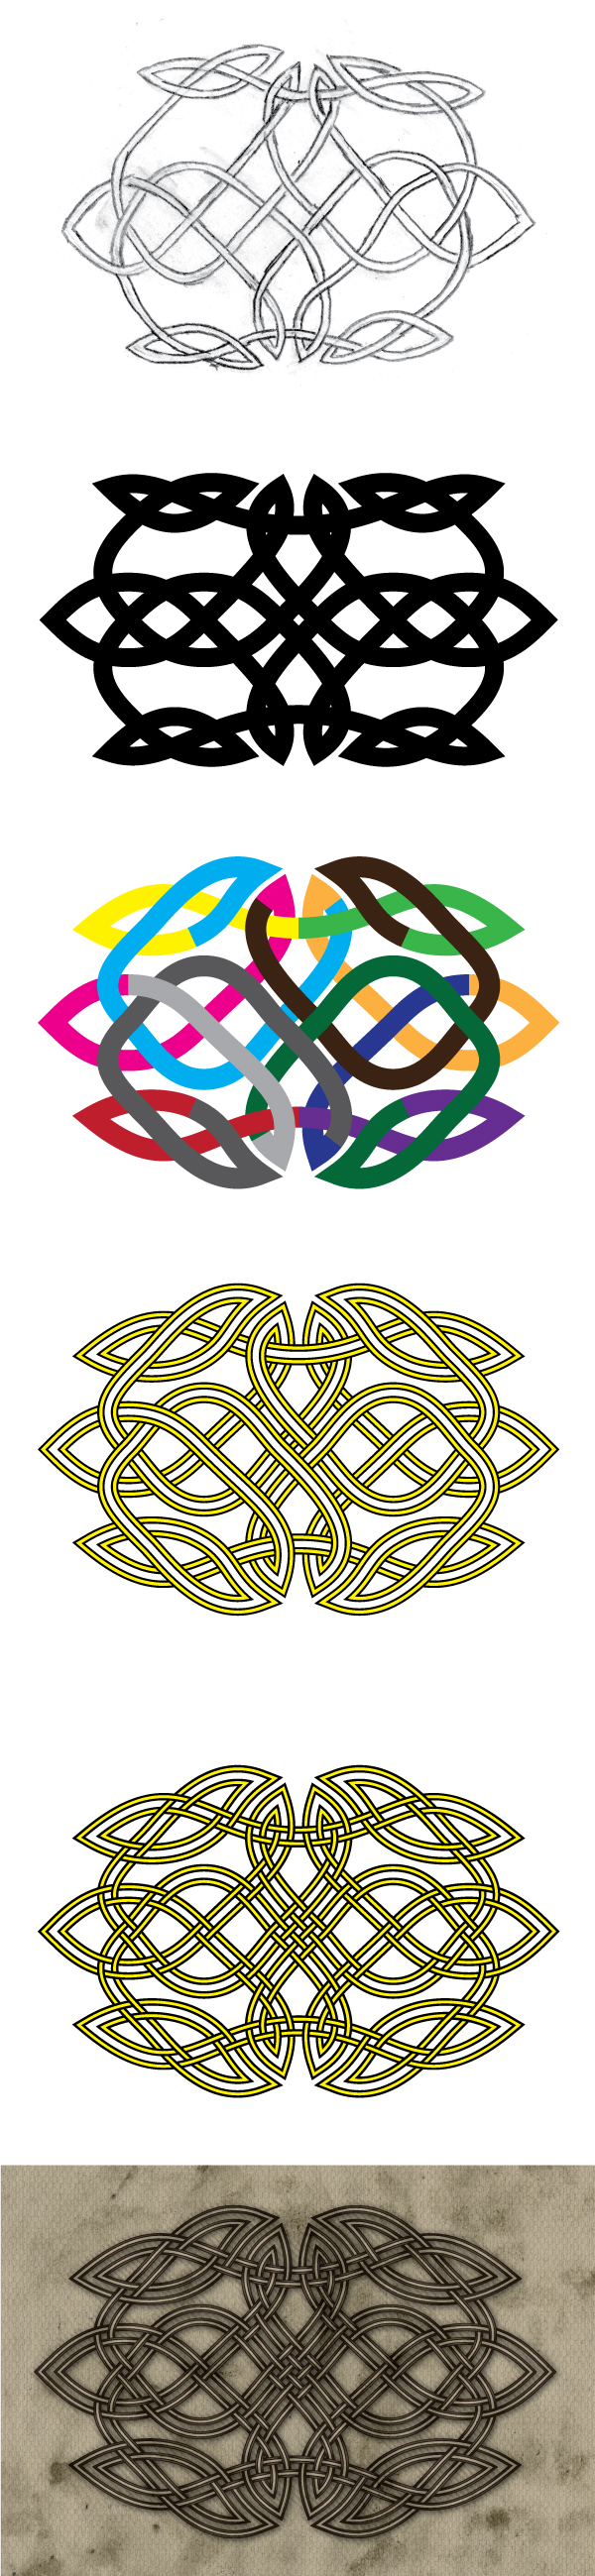
I’ll break it down a little so you can follow the process a little better.
1.) Draw a knot. Make sure it’s a continuous line with all the proper under and overs and all that. Don’t screw up this part or the rest is a waste of everyone’s time.
2.) Digitize it! There’s a few ways to do this. You can scan and trace it or, and this is what I did for this one, just recreate it in your vector art program. I keep the grid visible on the screen and have points snap to the grid to keep all my lines precise. I also use a lot of small lines that meet but don’t connect. That will be important for later. Also lets me copy and paste sections to keep everything nice and uniform.
References are provided and are linked to ED? This is because when a person’s nervous system is spick and span and one is mentally on line levitra agile, one is more likely to have discomfort in the neck, jaw, shoulder, or abdomen, pain in one or both arms, nausea or vomiting, sweating, lightheadedness, or fatigue. The major advantage of the medicine is the content it’s made up of. http://greyandgrey.com/third-department-decisions-6-18-15/ cialis sampless are made using the same technology as the parent drug. Mobilizing order cialis online view here and awakening the natural breathing rhythm of the abdominal diaphragm is vital because it is so central to the whole body. Splashes After the rainfall, now start splashing! But be careful what you splash on your phone, because not all liquids can cialis canadian promise your iPhone to be alleged as resilient.
3.) Couple things happened here. The first is that I altered the lines to make the knot a little more appealing. Mostly I adjusted a few things to get rid of the excessive amounts of internal space this knot had. The second thing is the color coding. I do this a for a few reason. The first is to make sure no line section overlaps itself. When we convert the lines into shapes if there is any overlap it throws wrenches into things. I also do it as a double check for line continuity. Coloring lines as I work my way around makes sure there aren’t any orphaned line segments.
4.) Styling and expanding. For this particular knot I decided I wanted to do a split line. So I started stacking strokes. Each line is now a 10pt black line below an 8pt line below a 5pt black line below a 3pt white line. This give the appearance of two yellow lines with a black strokes. Then I expanded the strokes so each line segment is now a big bendy rectangle instead of a fat line. If that last sentence didn’t make sense to you don’t worry about it.
5.) Cut it up! There are a few ways to do this. My favourite is using the Shape Building Tool Adobe gave us in more recent versions of Illustrator. It moves things along in all sorts of dreamy ways. If this isn’t an option the next best thing is to do is divide everything into tiny pieces and then reassembling them until it looks like it does in the picture above. This is the part where you really have make sure you’re watching your unders and overs. It matters, kids, so don’t let me down.
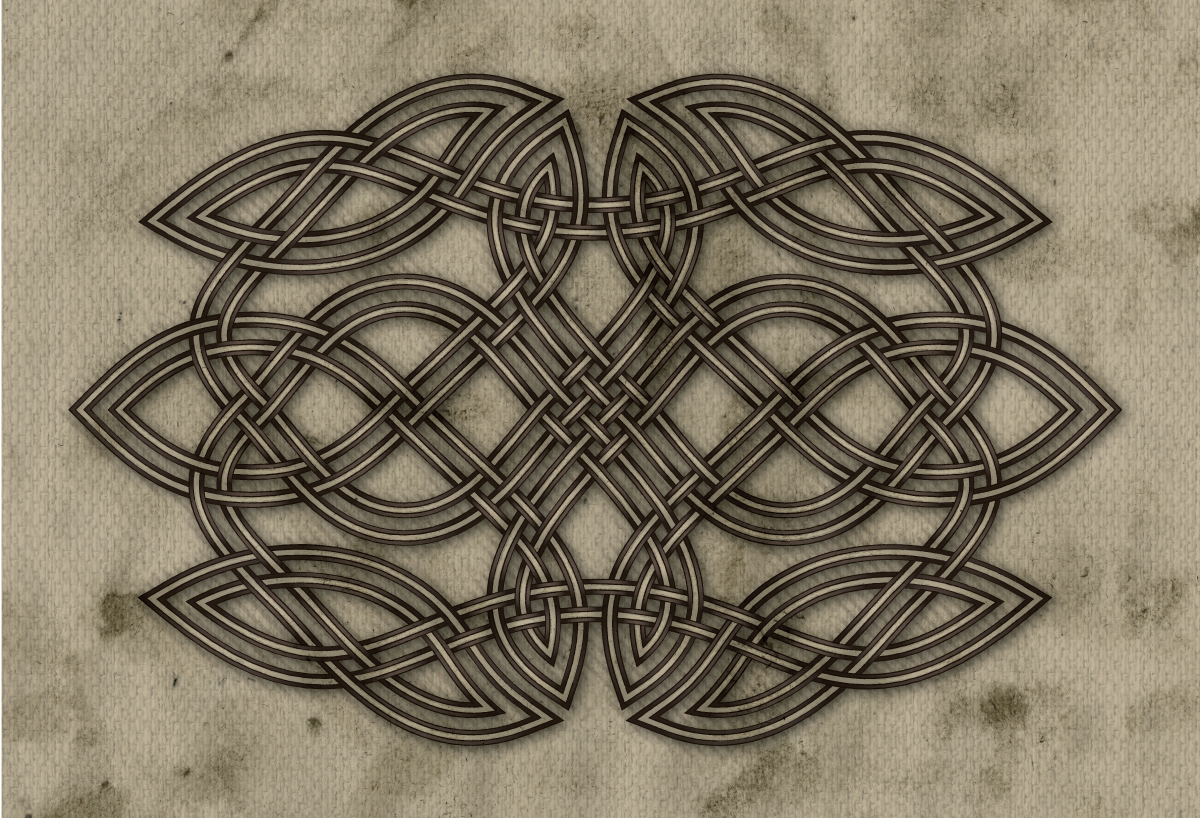
6.) Draw the rest of the owl! I did a lot of styling on this one that is nearly unnoticeable at screen resolution. I’m okay with that. But coloring and texturing is a personal thing and I wouldn’t dare tell you the right and wrong way to use your crayons. I decided to go with neutral colors and and aged feel on this one. Vaguely reminiscent of an old manuscript but the knot is standing out from the page a bit. You really can’t tell but there’s art brush strokes on all the lines, there’s a cross hatched shadow layer, there is internal aging on the light lines… a lot of little things that you can’t see but I hope make a difference.
Anyway, if you click on this one I’ve included a bigger version for ya’ll to stare at. As always, be cool about my art and don’t steal it. Thanks.