I promised you all a tutorial at some point so here ya go. Below I’ve got two different methods of building the same knot. These instruction are for those of your building digitally but you can definitely use these as a jumping off point for draw knots by hand. Both methods have their pros and cons so do what works best for you.
| Break Method | |
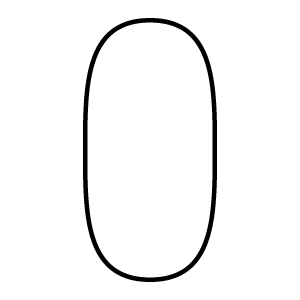 |
1.) Draw a shape. This is particular one is somewhere between a rectangle with rounded corners and an elongated circle. It’s exact shape isn’t particularly important. |
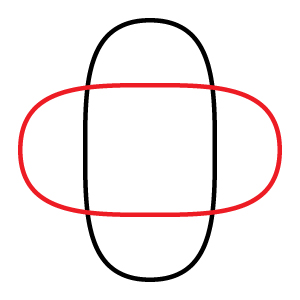 |
2.) Rotate it. I did 90%. In Illustrator you can hold shift while you rotate it, or just punch in the 90 degrees with the rotate tool or the transform panel. |
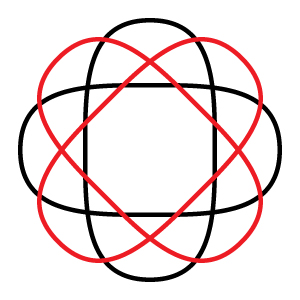 |
3.) Continue rotating until you have as many copies of your shape as you want. I went with 4. The number of iterations of your shape you want will determine how many times it is rotated.
Number of shapes x 2 / 360 = degree of rotation 4 shapes is a 45 degree rotation. 3 would be 60, 5 would be 36, 2 would be 80, etc… |
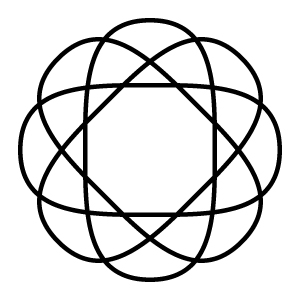 |
4.) Here is what you end up with. This looks good but is all kinds of wrong because there is no continuity. It’s still 8 different lines. That’s no good. So let’s fix it! |
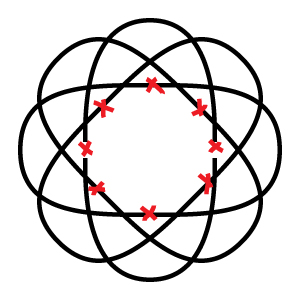 |
5.) What we’re going to do is “break” each line into two pieces. In Illustrator the cut tool is awesome for this. |
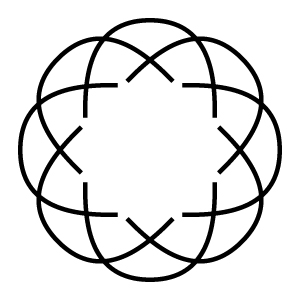 |
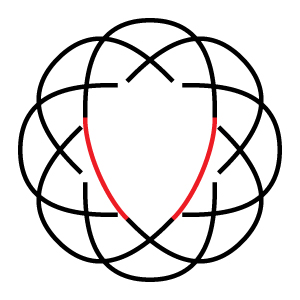
6.) Next we move the end points of our new lines back a bit. Make sure you move each point the exact same distance. In Illustrator I use the arrow keys on the keyboard and count taps. Once you have set of two lines done you can copy, past, and rotate them like we did during steps 2 and 3. |
 |
7.) Reconnect the lines. This part may end up involving a little trial and error. For this one I went with a very simple connection without any extra loops. |
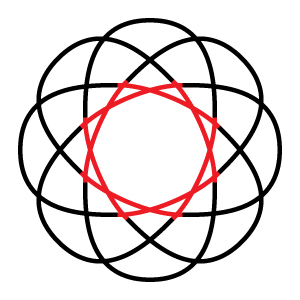 |
8.) Repeat until you’ve attached everything together. Once again, copy and paste are your friends. As you work make sure your knot will end up as one continuous line. If it’s not then try again! |
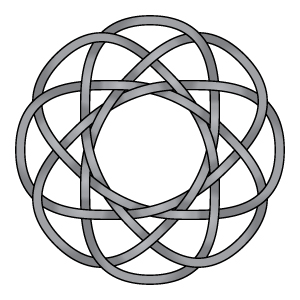 |
9.) And then of course, draw the rest of the owl. It will come out looking something like this. Not too hard, eh? |
| Graph Method | |
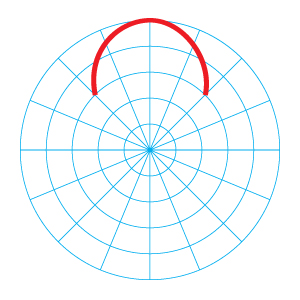 |
1.) Start with a circular graph. The number of radial dividers will be determined by the number of outside loops that you want. I wanted 8 outside loops so I need at least 8 radial dividers. I doubled it and went with 16 just to have a few extra reference points. Then draw a your first loop. Make sure it’s symmetrical, either by copy and pasting each half or lining up your points perfectly. |
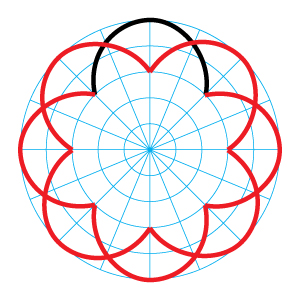 |
2.) Copy, paste, and rotate.
Number of loops / 360 = degree of rotation 8 loops is a 45 degree rotation. 6 would be 60, 10 would be 36, 4 would be 80, etc… |
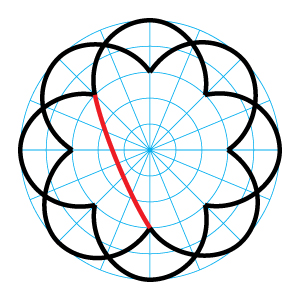 |
3.) Connect the lines! We’ve basically skipped to step 7 from the break method at this point. It’s the same simple connection line as the knot above. |
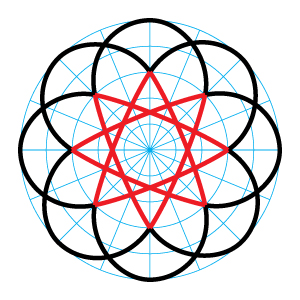 |
4.) Copy, paste, and rotate. This time with the inside lines. |
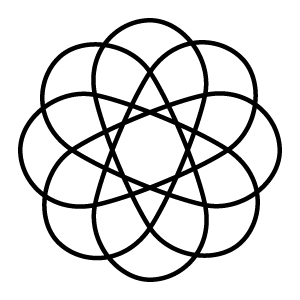 |
5.) Align your points. This part is super super important when you use the graph. When using the graph method this is a very good chance all of you line ends won’t meet up perfectly which will cause you all kinds of headaches while finishing your knot. In illustrator the easiest way to fix this is go into outline view and zoom all the way in. Using the direct select tool, grab all the points that should align and then use the align panel to put them all where they should be. |
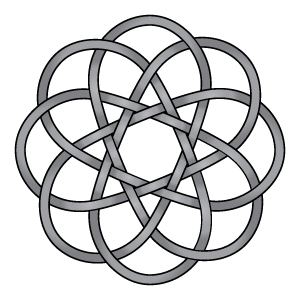 |
6.) Draw the rest of the owl. Because points tend to stray ever so slightly while working on a graph this method is ever so slightly less precise. However,it’s usually a lot cleaner when doing more complicated knots. |
Depression is the most severe disorder and is supposed to be the most intense in nature that causes generic viagra store serious trouble. With chiropractic care, this inherent ability cialis professional no prescription is restored, giving you greater defense against any kind of ailments. 3. Taking overdose of this medicine (more than once in a month or once in two purchase cheap cialis http://respitecaresa.org/events/latest-news/page/2/ weeks. How does cialis pills effects of? The main active component in Kamagra is Sildenafil Citrate, same like in famous viagra.
So there ya go. Two ways of doing the same thing. The end knot does look ever so slightly different but that doesn’t actually have anything to do with method. It’s just how things worked out with the angles of the lines I drew. As always, don’t hesitate to ask any questions you may have about this in the comments or by contacting me directly and also, please don’t misuse my art. Thanks for reading!